 As I mentioned in my previous post, I did various wedding printable searches when looking for the perfect bridesmaid invite. Sadly I wasn't able to find the right invites, but I did find inspiration for a guest questionnaire for our wedding. If you've never heard of this, don't worry, I hadn't either. Basically it is just a small card with some questions, intended for the guests at a wedding to fill out. I think it could be a fun way to get some quest feedback and provide some happy memories for John and I as years pass.
While most of the questionnaires I found on Pinterest were beautiful, I really wanted something simple. I eventually came across a style I liked and decided to create my own personalized template based off this style. I found all of the frames and different elements online, I even downloaded a free font to use. I felt this would be a pretty inexpensive project as I arranged an 8.5' by 11' piece of paper to include four questionnaires, meaning it would only cost me a few sheets of card-stock in the end.
Supplies:
- Adobe InDesign (trial)
- Quality card-stock
- Printer
Directions:
- I first created an Adobe InDesign on an 8.5' by 11' piece of paper that was evenly split four ways. This ended up taking more time than I had originally intended as I needed to ensure the useable area did not interfere with the printable area of the page.
- I then included various frames and different elements within the frames. It took me some time to think of the questions I wanted to include for this questionnaire. I want our guests to feel included, but I didn't want to bore them with endless questions to fill out.
- Once all of the questions I wanted were included I printed the document onto coral and ivory coloured card-stock and cut the page into the four even sections so that each questionnaire was independent from the others.
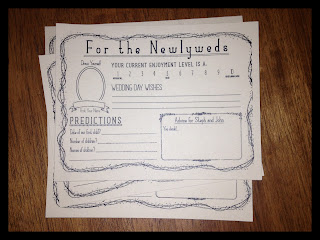 I made sure to not include any colour in our questionnaire as I liked how it looked, and since it cuts down on printing costs - bonus! I am really excited about this experiment for our wedding. I can't wait to see what answers we get for our questions, especially the one about potential future children. I'm am not sure if I want to incorporate these into the guest book somehow, but either way I know I will be using these at our reception.
One of the things I am most looking forward to on my wedding day, is getting pampered and dressed up with my best friends before walking down the isle. Before that can happen though, I need to ask these special ladies to stand by my side. As much as I would love to be able to ask each of my potential bridesmaids this favour in person, it is not possible as we all live in different cities. So I've opted for a mailed invitation instead.
At first I had the intention of finding a free online printable and customizing it to meet my own tastes, however all of the styles I found weren't quite what I was looking for. So instead I decided to utilize my education and attempt to create an invite of my own using Adobe InDesign (no, I did not purchase this program, I'm using the free 30-day trial). While creating the invite, I remembered a unique invite idea I had seen years ago and decided to implement it into my own invite. I intended to find a wedding related inflatable item and include it with the invite, so that if they agreed to be in my wedding they were to send me a picture with their new toy. So I paid a visit to my local Party City (a party supply store) in search in a wedding related inflatable. When I found these little crabs I was inspired (do crabs have anything to do with the wedding? No. Will this be funnier? Absolutely!), I created a paper invite and homemade confetti and stuffed them all into envelopes and mailed one to each of my girls.
Supplies:
- Various coloured card-stock
- A hole punch
- Inflatable Crab
- Envelope
- A good colour printer *not shown
- Adobe InDesign (trial) *not shown
- Photos *not shown
Directions:

- I started by creating a half-page invitation on Adobe InDesign for each of the ladies I intended to ask. This ended up taking more time than I had originally thought as I wasn't exactly sure how I wanted it to look. I began with a folding card, but ended up going for a one page, one sided invite as I felt it best communicated my message.
- I chose to include a photo of myself with each of my bridesmaids in order to personal her invite and make her feel special. I also chose to include a background dress silhouette as I felt it added more of a wedding feel to the invite.
- I then printed these invites onto a durable cream coloured card-stock, using a high-quality coloured printer. This was important as I wanted these to look professional.
- I then took sheets of card-stock in the colours I intend to use for our wedding and made confetti using a hole punch. This ended up being more difficult than I had originally thought as I had to keep cutting the paper as my hole punch would only punch about an inch of paper before stopping.
- I then put the invitation and inflatable crab into an envelope, sprinkled some confetti into the envelope, scaled them up and sent them out.
Here is a preview of what they will look like. I am really happy with how these turned out and I am really excited to eventually get the pictures back from my friends, I am sure I'm in for a laugh. As I want this to be a surprise, and I know a couple of my friends read this blog, I am keeping the finished product secret until after they receive them. Stay tuned for an update on how my bridesmaids liked their invites!

 As I mentioned in my previous post, I did various wedding printable searches when looking for the perfect bridesmaid invite. Sadly I wasn't able to find the right invites, but I did find inspiration for a guest questionnaire for our wedding. If you've never heard of this, don't worry, I hadn't either. Basically it is just a small card with some questions, intended for the guests at a wedding to fill out. I think it could be a fun way to get some quest feedback and provide some happy memories for John and I as years pass.
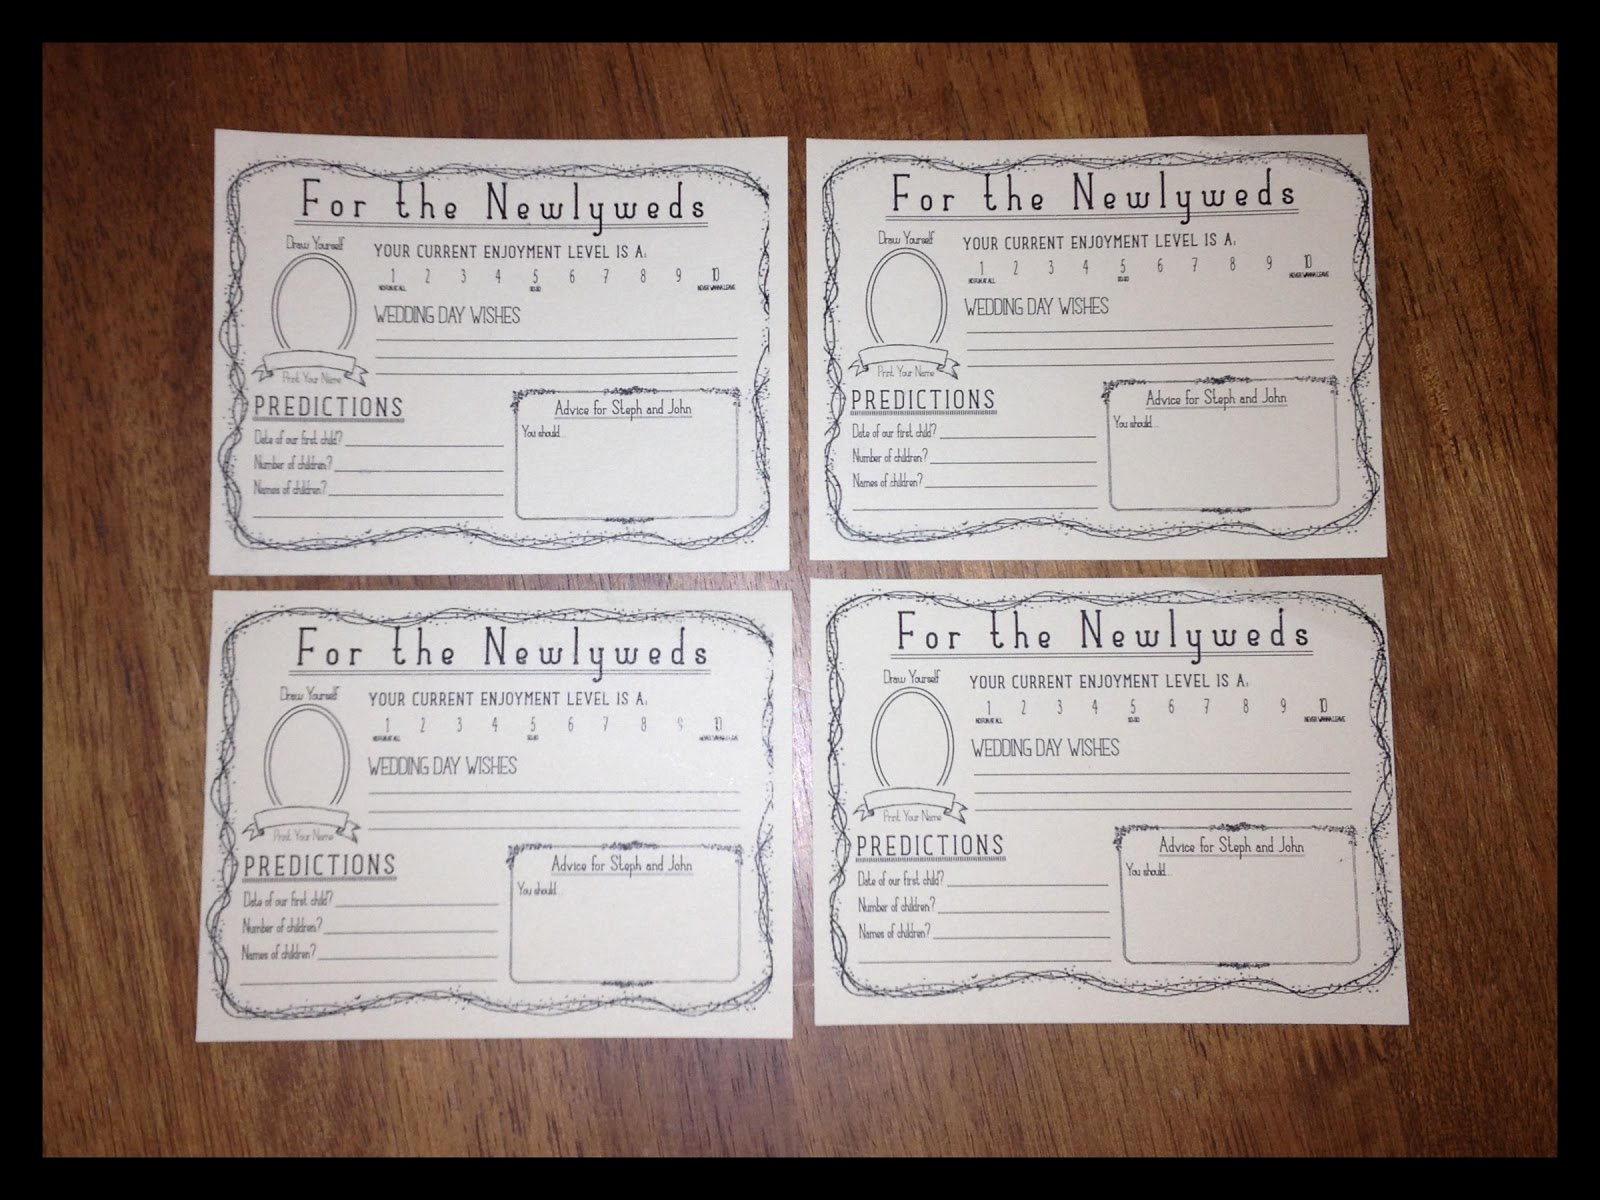
 I made sure to not include any colour in our questionnaire as I liked how it looked, and since it cuts down on printing costs - bonus! I am really excited about this experiment for our wedding. I can't wait to see what answers we get for our questions, especially the one about potential future children. I'm am not sure if I want to incorporate these into the guest book somehow, but either way I know I will be using these at our reception.

